Product
Paya Connect
Description
Adding a user will require 4-steps, this article will cover setting up a user, defining the user's role and preferences, and having the user create or reset their password.
Resolution
Adding a User
- Click on the 'Location' menu on the left-hand side of the navigation window.
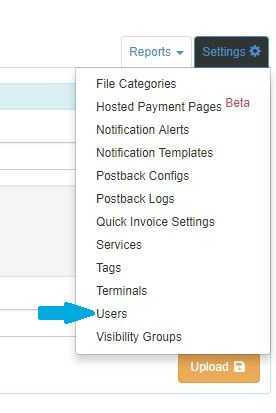
- Click on the 'Location' then click on the 'Settings' tab to the right side of the 'Location's Detail' page and select 'Users' from the drop-down.
- Click on the 'Add User' button in the upper right-hand corner of the screen:
- Select 'Add New User' or 'Add Existing User':
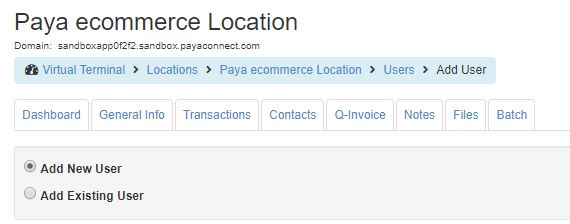
- The 'Add New User' is used for a new unique user that has not been added to the Merchant's Organization before. Follow the steps below to complete this process:
- Fill out the form with the following suggested fields completed, the other fields are available for the merchant's convenience.
- Username: The recommended format is first initial and last name (i.e., Arthur Nudge = anudge), but the format is flexible and can be set up in any format (emails are acceptable as well).
- First Name
- Last Name
- Email - This is required as this allows users the ability to reset their passwords.
- Select whether the user will be a 'Location User' or 'Location Admin' (Location Admins will have all privileges, while Location Users will have their roles set by the Location Admin user).
- Time Zone: Please set the appropriate time zone for the users' location.
- Username: The recommended format is first initial and last name (i.e., Arthur Nudge = anudge), but the format is flexible and can be set up in any format (emails are acceptable as well).
- Click on the 'Save User' button.
- Fill out the form with the following suggested fields completed, the other fields are available for the merchant's convenience.
- The 'Add Existing User' will be used for an existing username that is assigned to another location. This option grants that user access to this location.
- Please Note: To add an existing user, they will need to be able to be viewed from another assigned location.
- Click on the 'Save User' button.
Setting up User Roles
- Once the user is created, the Merchant will see a message that says 'This user has no roles assigned!'
- Click on the 'Roles' tab:
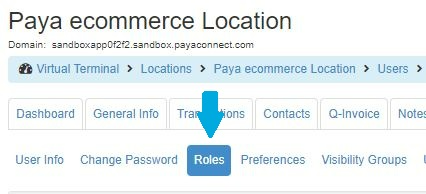
- Choose the appropriate roles for these users (view more information on the available roles). If you are adding a 'Location Admin', your user's roll options will be limited to 'All Privileges' which will include all role options.
Setting up User Preferences
- Once the user roles have been selected, the Merchant will want to set the user's preferences for email notifications.
- Click on the 'Preferences' tab:
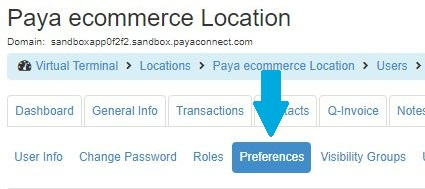
- Select the notifications that the user should receive:
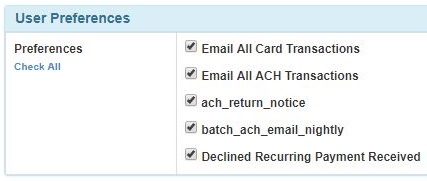
- We recommend that all options be selected for the initial preferences except Email All Card Transactions and Email All ACH transactions.
Create or Reset a User's Password
Please refer to the article about creating or resetting user passwords
If you have questions or require additional information, please contact us, and we will be in touch with you shortly.
