Product
Ingenico Telium PIN pads
Ingenico Tetra PIN pads
Paya Connect
Description
Connecting some wireless devices may vary from the steps below, please consult the included user guide for details for your exact unit.
Resolution
Wired Ingenico Terminals
To connect an Ingenico Telium PIN pad, please ensure that your network can communicate with Paya Connect on Port 443. Depending on your network configuration, you may also need to whitelist the domain *.payaconnect.com. All terminals must be added to the Paya Connect location before powering up the first time. Please follow the steps below to connect and set up the PIN pads:
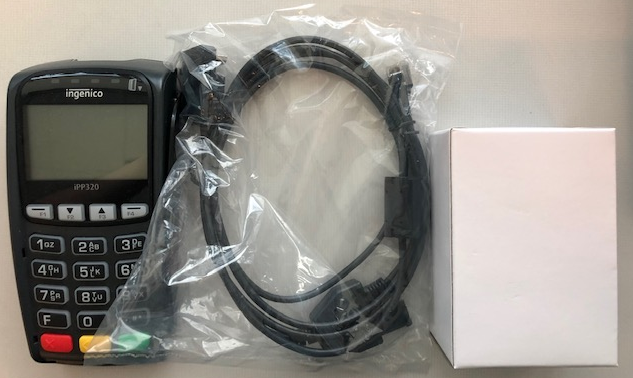
These steps will work for the iPP-320, iSC-250 and 450:
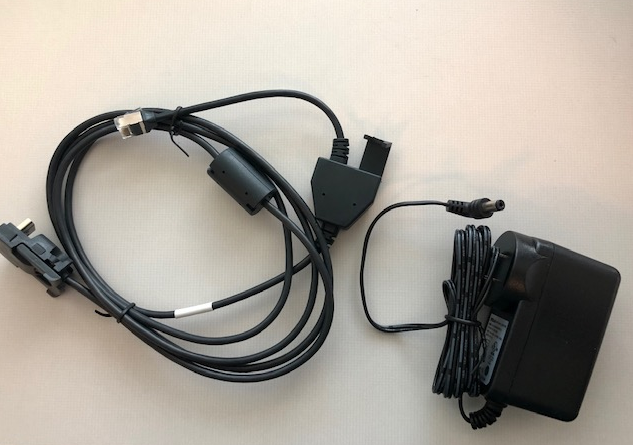
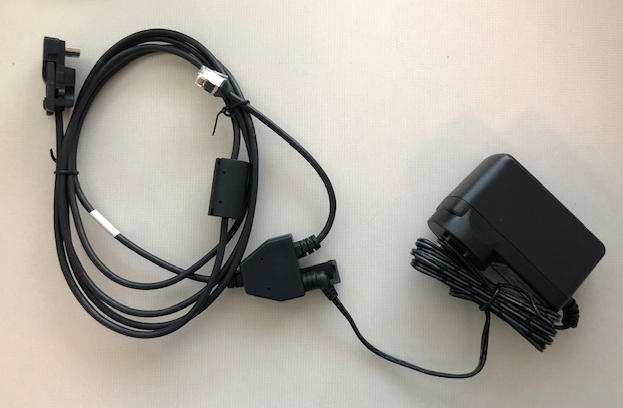
- Connect the power cable to the ethernet terminal cable.
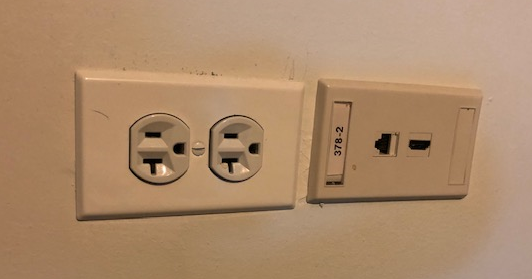
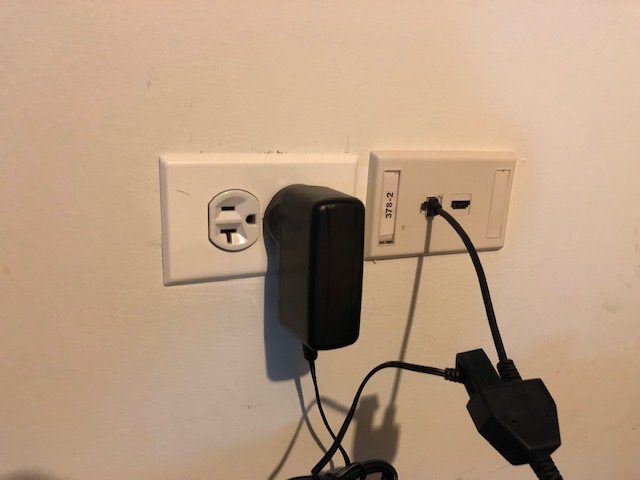
- Once the cable is ready, locate the ethernet and power plugs. We recommend that all terminals are plugged into a surge protector. The ethernet cable may be directly connected to a router or a wired network. Our pictures below show connecting the terminal to a wired network:
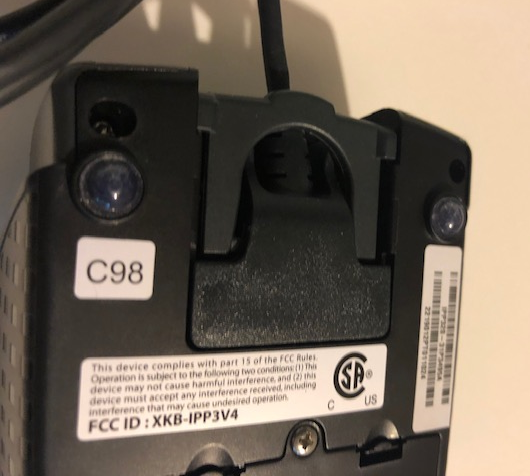
- Once the cable is connected to the wall, you can connect the cable to the PIN pad. Turn over the terminal and locate the port on the bottom of the terminal.
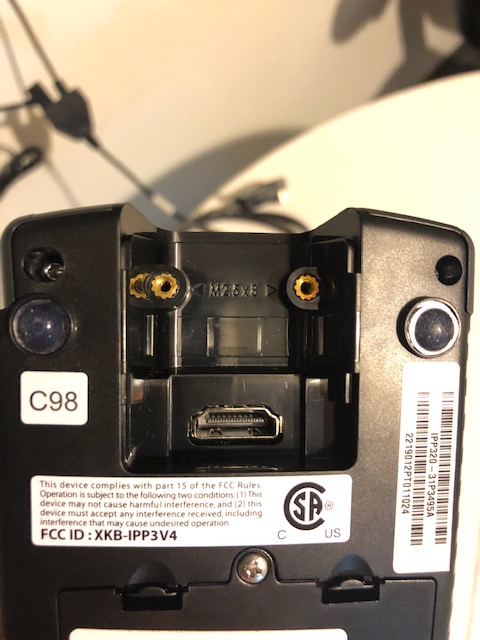
- Plugin the cable into the back of the terminal.
- When the PIN pad is plugged in the terminal will chirp, and the terminal will start to boot up.
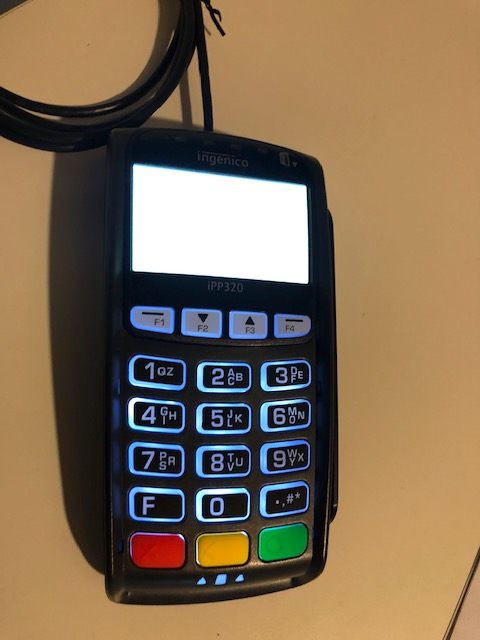
- Once the terminal is booted up, the screen should read "secured by Paya"; if the unit says disconnected contact customer support.
Wireless Ingenico Terminals
Connecting a wireless Telium terminal requires that the WiFi Network be set up for WPA/WPA2 security with port 443 open and if necessary *.payaconnect.com URL whitelisted on your network. The steps below will help you get the terminal connected:
These steps work with the IWL-258 and ISMP4:
- Make sure that the PIN pad is fully charged before attempting to connect and set up these terminals.
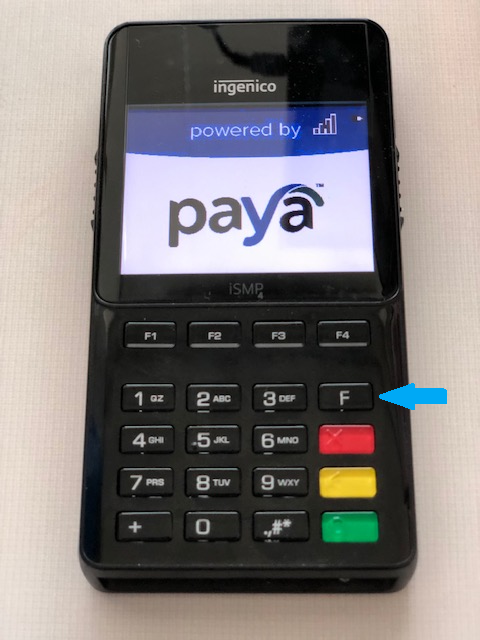
- Press the power button on the unit to boot up the terminal.
- For the IWL-258, the power button is the enter 'green' key.
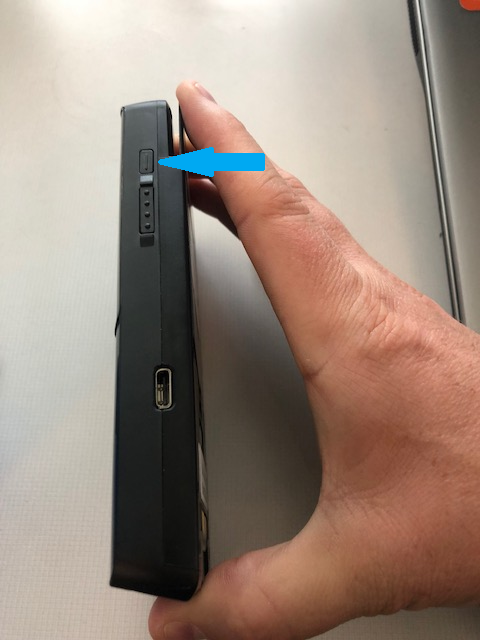
- For the ISMP4, the power button is the smaller button on the right-side of the screen.
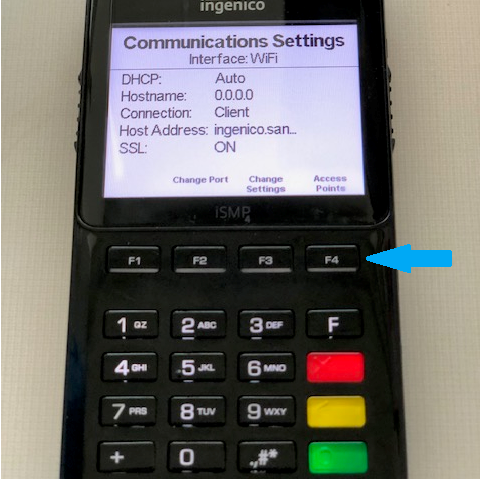
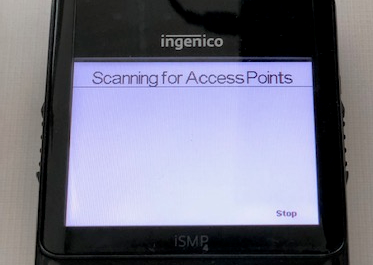
- Press the F4 key to access the Access Points menu, if a WiFi network has already been set up; select the WiFi network. If you are adding a new network press F1 to start scanning for networks.
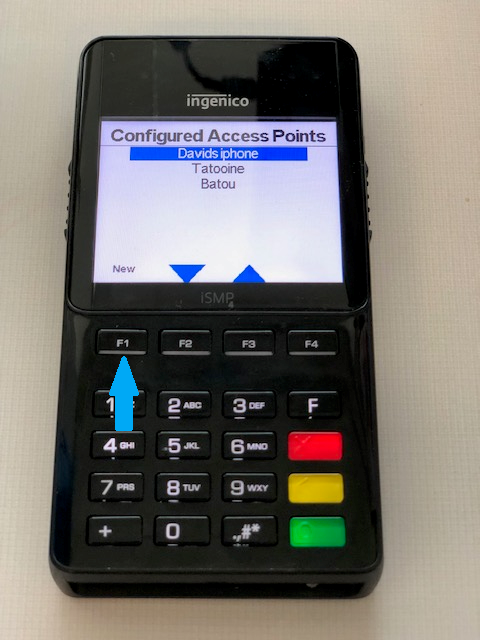
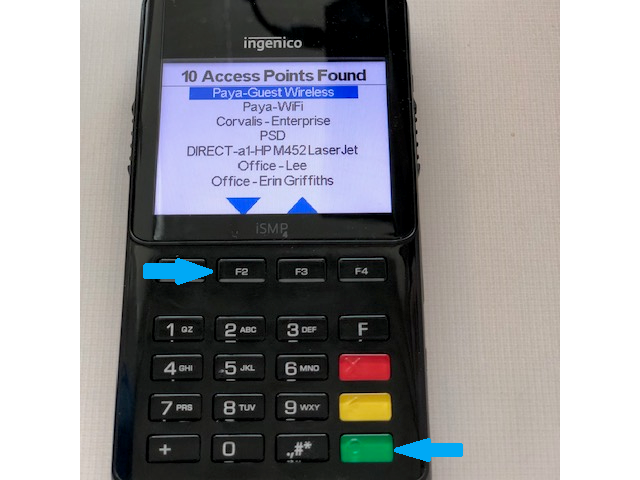
- Once the list of available networks appears, use the F2 and F3 keys to arrow down to select the network you want to join and press 'Enter' (green) key.
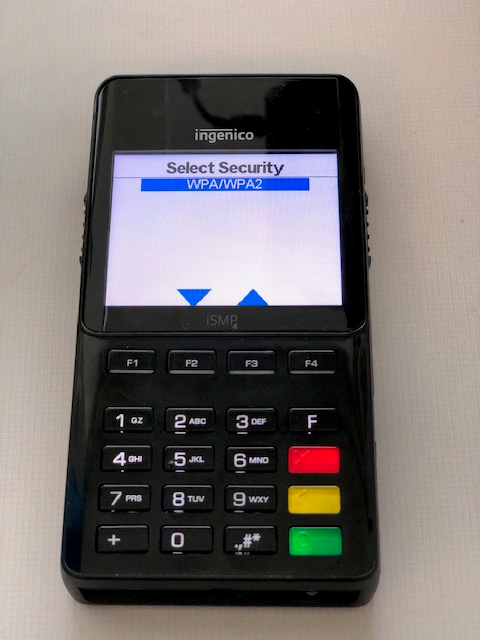
- Select security and press 'Enter' (green) key.
- Enter the Password using the T-9 Keyboard, the F key will allow you to select the special character keys.
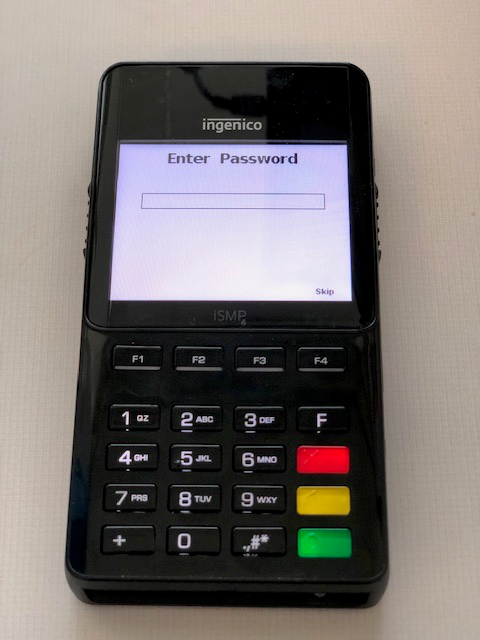
- Press the Enter (green) Key
If you have questions or require additional information, please contact us, and we will be in touch with you shortly.
