Product
Acumatica ERP
Paya Connect
Description
To configure Acumatica to use Paya Connect a Customized Project must be set up. The plugin must be installed to integrate with Acumatica.
Resolution
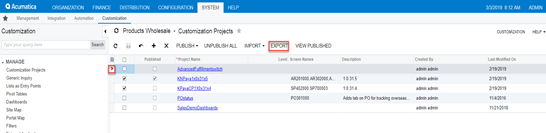
Navigate to System > System > Manage > Customize Projects
- Export the customization package using the Export button.
- Highlight the customization package to export.
- Click on Export button.
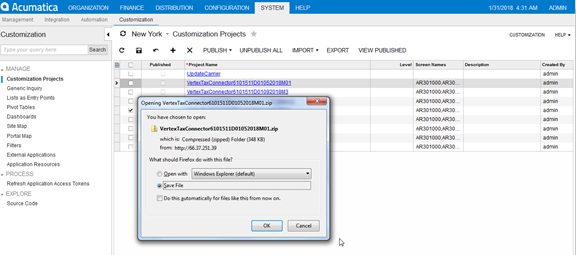
- A popup displays the selected package to Save or Open.
- Select save.
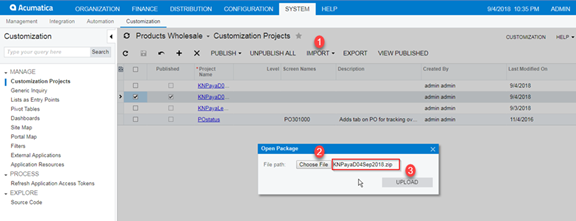
- Import the customization package using the Import button.
- Click Import. (1)
- Select the Choose File button to select the required package. (2)
- The select package option will display in the open package pop.
- Click on the Upload button. (3)
- The imported package will now be displayed.
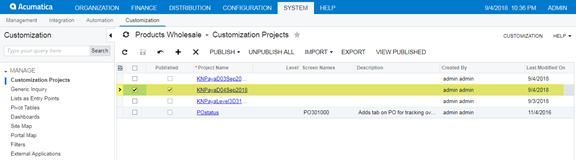
- Click the checkbox from the left side of the record in the project and click Publish.

- The Compilation progress will run.
- Once complete, click Publish.
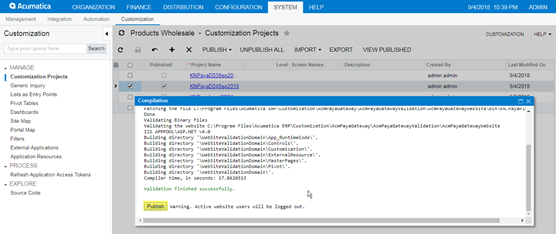
- When the package is published, the checkbox under the Published column will be marked.
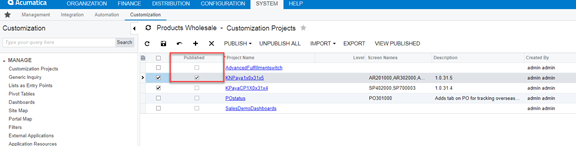
Note: If a user needs to publish multiple packages, select the respective packages and click on the publish button to run multiples.
If you have questions or require additional information, please contact us, and we will be in touch with you shortly.
